How to Remove Chocolate Stains: The Ultimate Guide
Chocolate is one of life’s greatest pleasures. As a certified chocoholic, I can’t resist indulging in a piece (or three) of rich, velvety chocolate. But as much as I love it, I have to admit—it can be a nightmare when it ends up on my clothes, carpet, or couch.
If you’ve ever found yourself panicking over a chocolate stain, don’t worry. This guide will walk you through the best ways to remove chocolate stains from various surfaces. Whether it’s a fresh spill or a stubborn, set-in stain, I’ve got you covered!
Table of Contents
Understanding Chocolate Stains
What Makes Chocolate Stains Difficult to Remove?
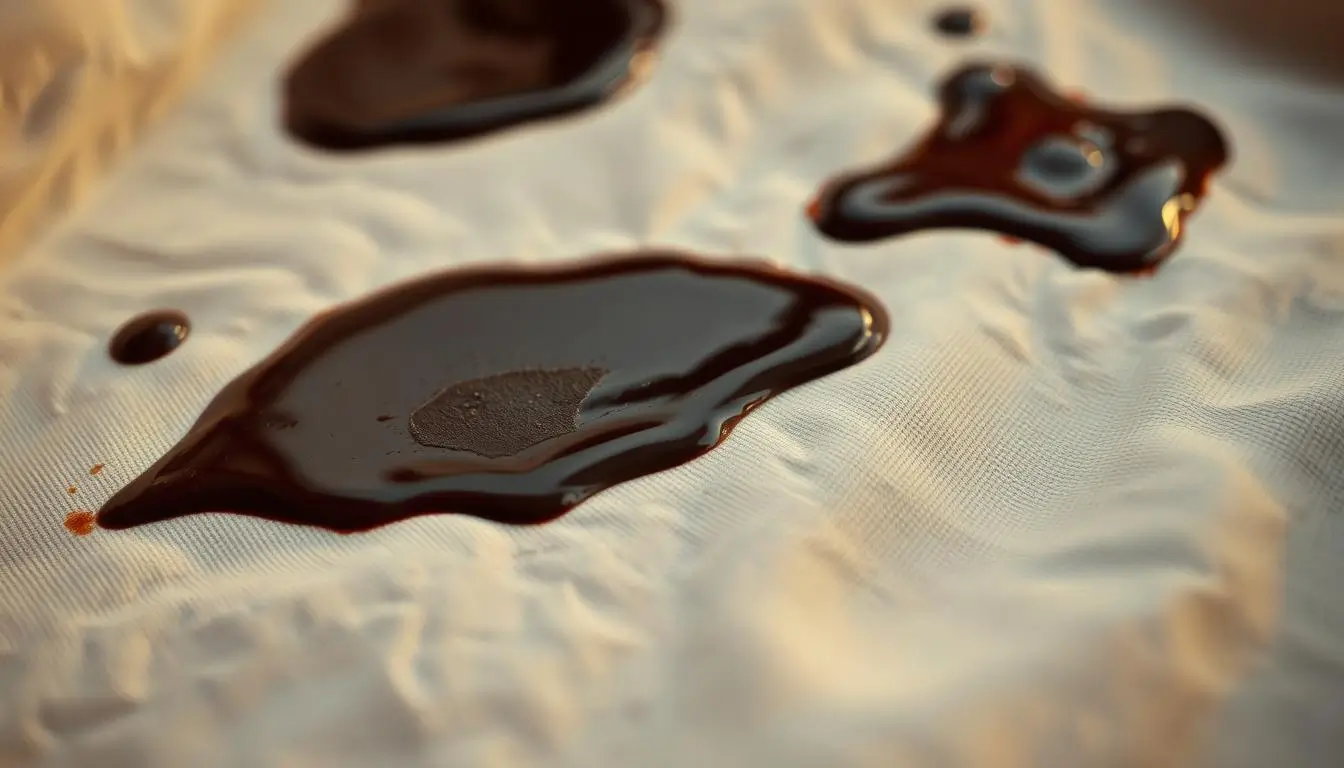
Chocolate stains aren’t just another minor laundry mishap—they’re a complex challenge thanks to the unique composition of chocolate. Unlike a simple coffee spill or a splash of juice, chocolate is a triple-threat stain, combining fat, protein, and tannins. Each of these elements requires a different approach to break down effectively:
- Fats (Cocoa Butter & Dairy): These oily components seep into fabric fibers, making stains greasy and difficult to dissolve with just water.
- Proteins (Milk & Cream): Found in milk chocolate and many chocolate desserts, protein stains can bind to fabric, especially when exposed to heat.
- Tannins (Cocoa Solids): The deep brown pigment in chocolate can leave behind stubborn discoloration, similar to tea or wine stains.
Because of this tricky combination, chocolate stains need targeted treatment. Using hot water or the wrong cleaning method can actually make things worse by causing the stain to set deeper into the fabric. That’s why understanding the stain’s makeup—and responding quickly—is the key to successful removal.
Time is Everything: Acting Fast Makes All the Difference
When it comes to chocolate stains, every second counts. The longer a stain sits, the more time the fats and proteins have to bind with the fabric, making it harder to lift.
Here’s what you should do immediately when a chocolate stain happens:
- Scrape Off Excess Chocolate: Use a spoon, dull knife, or even the edge of a credit card to gently lift away any solid chocolate. Be careful not to rub—this will only push the stain deeper into the fibers.
- Blot, Don’t Scrub: Use a dry paper towel or clean cloth to dab the stain gently, absorbing as much chocolate as possible.
- Rinse with Cold Water: Run cold water through the back of the stained fabric to push the chocolate out without driving it deeper into the fibers. This helps push the stain outward rather than driving it in further. Avoid hot water at this stage—it can cause the proteins in milk-based chocolate to coagulate, making the stain harder to remove.
If you’re not at home or can’t treat the stain immediately, blot it as best as you can and avoid heat (including body heat from pressing on it too much).
The Must-Have Tools for Chocolate Stain Removal
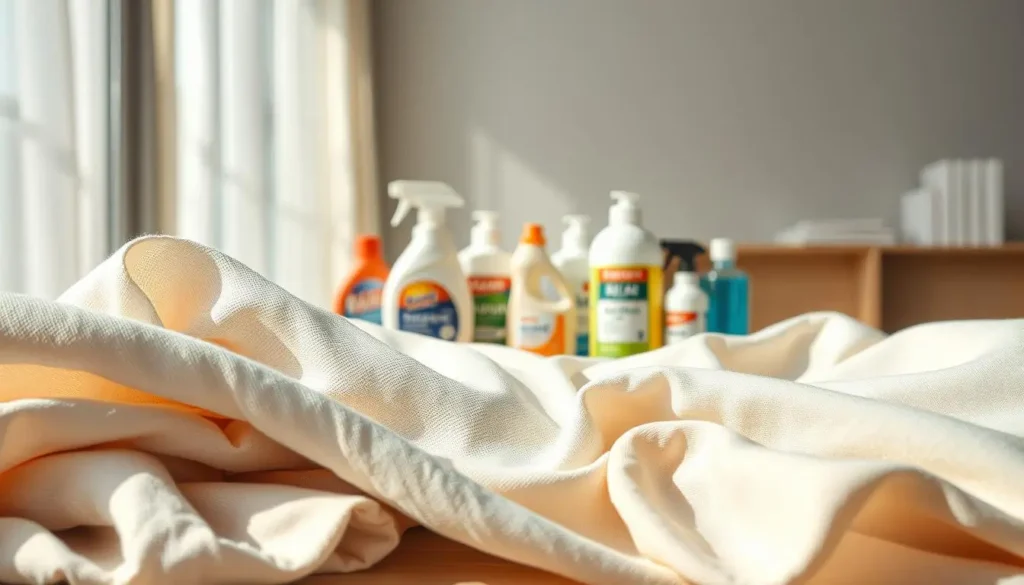
To effectively tackle chocolate stains, you need the right cleaning arsenal. Here are the most effective stain-removal supplies and why they work:
✅ Cold Water – Always start here! Cold water prevents stains from setting and helps lift chocolate particles from fabric.
✅ Dish Soap or Laundry Detergent – Fats in chocolate require grease-fighting power. Look for enzymatic detergents (like those for removing food stains) to help break down the proteins.
✅ Baking Soda & Vinegar – A natural yet powerful stain remover. Baking soda absorbs grease, while vinegar helps break down proteins and neutralizes odors.
✅ Hydrogen Peroxide (for whites and colorfast fabrics) – Acts as a gentle bleaching agent, helping to lift stubborn chocolate stains from lighter fabrics.
✅ Enzyme Cleaner – If you’re dealing with milk chocolate or chocolate-based dairy desserts, an enzyme cleaner can break down both the fats and proteins effectively.
✅ Oxygen Bleach (for tough stains on white or colorfast fabrics) – A good last resort for stains that refuse to budge after pretreatment. Make sure the fabric is safe for oxygen bleach before using.
✅ A Spoon or Dull Knife – Essential for removing excess chocolate without spreading the stain.
✅ A Soft Cloth or Sponge – For gentle blotting and dabbing, never scrubbing. Scrubbing can damage fibers and embed the stain even deeper.
Having these supplies ready will save you time and frustration when dealing with chocolate stains. Now that you know why chocolate stains are so stubborn and what tools to use, let’s get into step-by-step stain removal techniques for different fabrics and surfaces!
How to Remove Chocolate Stains From Clothes
Chocolate may be a delight to eat, but when it lands on your clothes, it’s a nightmare to remove—especially if you don’t act fast. Since chocolate stains contain a mix of oils, proteins, and tannins, they require a multi-step approach to break down effectively.
The good news? With the right techniques and a little patience, you can remove chocolate stains completely—without damaging your favorite clothes. Follow these precise steps to lift chocolate stains like a pro.
Step 1: Scrape Off Excess Chocolate (Gently!)
Before you do anything, remove as much solid chocolate as possible without pressing it further into the fabric.
✔ Use a dull knife, spoon, or credit card edge to lift away chunks of chocolate.
✔ Avoid rubbing or smearing, as this can push the stain deeper into the fibers.
✔ If the chocolate is melted, place an ice cube or put the garment in the freezer for a few minutes until the chocolate hardens, then scrape it off.
The goal here is to minimize the amount of chocolate left in the fabric before moving to the next step.
Step 2: Pre-treat the Stain
Now it’s time to break down the stain before washing. Since chocolate contains both fat and protein, you need a strong pre-treatment to dissolve these elements.
✔ Apply a few drops of liquid dish soap or enzyme-based laundry detergent directly onto the stain. These are great at cutting through grease and lifting food stains.
✔ Gently massage the soap into the fabric with your fingers or a soft-bristled toothbrush. Allow it to sit for 5 to 10 minutes to give the solution time to break down the stain.
✔ If the stain is particularly stubborn, try a paste of baking soda and water, or a mix of white vinegar and dish soap. This boosts the stain-fighting power.
This pre-treatment step is critical—it loosens the stain, making it much easier to wash out in the next step.
Step 3: Wash with Detergent
Now that the stain has been pre-treated, it’s time to wash the fabric properly. But be careful—using the wrong water temperature can make things worse!
✔ Always use cold water—hot water can cause the proteins in chocolate (especially milk chocolate) to bond with the fabric, setting the stain permanently.
✔ Wash the item in the coldest water safe for the fabric, using a regular cycle with your usual detergent.
✔ If dealing with white clothing, you can add a small amount of hydrogen peroxide or oxygen bleach to brighten the fabric and help lift any residual stains.
Step 4: Check for Residual Stains
Never, ever throw a stained garment into the dryer before checking the stain. Heat from the dryer can permanently set any lingering chocolate stain, making it nearly impossible to remove.
✔ After washing, inspect the stained area in bright light.
✔ If any chocolate stain remains, repeat the pre-treatment and wash cycle before drying.
✔ If the stain is faint but still visible, soak the garment in a mix of cold water and oxygen bleach for 30–60 minutes, then rewash.
Once the stain is completely gone, you can dry the garment as usual.
How to Remove Chocolate Stains From Carpet
A chocolate stain on your carpet is never a welcome sight, but don’t panic—quick action and the right approach can save the day. Unlike clothing, which can be rinsed and washed, carpet fibers absorb stains quickly, making removal trickier. The key? Work gently, avoid over-wetting, and use the right stain-lifting technique.
Whether it’s a fresh chocolate spill or a dried-in stain, follow these step-by-step instructions to restore your carpet without leaving residue or discoloration behind.
Step 1: Remove Excess Chocolate Without Spreading It
Before applying any cleaning solution, you need to get rid of any solid chocolate. But be careful—scraping too aggressively can grind the stain deeper into the carpet fibers.
For dried chocolate:
- Use the edge of a dull knife, spoon, or credit card to gently scrape off as much chocolate as possible.
- If the chocolate is stuck, harden it with ice cubes in a plastic bag for a few minutes before scraping.
For melted chocolate:
- Avoid smearing! Instead, lightly blot the area with a dry paper towel or clean cloth to lift excess chocolate.
- Do not rub—this will only push the stain deeper into the carpet.
Once you’ve removed as much solid chocolate as possible, it’s time to tackle the stain itself.
Step 2: Apply Stain Remover
To lift the chocolate stain from carpet fibers, you’ll need a mild but effective cleaning solution. One of the best options is a simple dish soap and cold water mixture—it cuts through chocolate’s fat content without damaging carpet fibers.
How to Make & Apply the Cleaning Solution:
- Mix 1 teaspoon of dish soap with 2 cups of cold water. (Avoid hot water, as it can cause the stain to set!)
- Dampen a clean cloth with the solution—do not soak the carpet.
- Gently dab the stain with the cloth, starting from the outer edges and working inward. This prevents the stain from spreading.
- Let it sit for 5–10 minutes to break down the chocolate.
If you prefer, you can use a store-bought carpet stain remover—just make sure it’s safe for your carpet material and doesn’t contain harsh bleaching agents.
Step 3: Blot, Don’t Rub, to Lift the Stain Without Damaging Fibers
After letting the cleaning solution sit, it’s time to blot up the stain and moisture. This is crucial—leaving moisture in the carpet can lead to mildew or residue buildup.
- Use a clean, dry towel (preferably white, to avoid color transfer).
- Press firmly but gently to absorb as much liquid as possible.
- Repeat with fresh sections of the towel until no more stain transfers.
At this point, the stain should be lighter. If it’s still visible, move on to the next step.
Step 4: Reapply and Blot
Some chocolate stains are stubborn, especially if they’ve been sitting for a while. If any residue remains:
- Reapply the dish soap solution and blot again.
- For persistent stains, mix equal parts vinegar and cold water and dab it onto the stain. Vinegar helps break down any remaining chocolate residue.
- Blot with a dry towel again until the stain disappears completely.
Once the stain is gone, you’ll want to rinse out any soapy residue to prevent carpet fibers from stiffening:
- Dampen a new cloth with plain cold water and blot the cleaned area.
- Use a dry towel to absorb excess moisture.
- If needed, place a stack of paper towels over the spot and weigh them down with a heavy object for a few hours to help draw out remaining moisture.
Finally, let the area air dry completely before walking on it. If needed, run a fan or open a window to speed up the drying process.
How to Remove Chocolate Stains From Upholstery
With the right approach, you can lift even stubborn chocolate stains without damaging the fabric. The key? Be gentle, use the right cleaning agents, and avoid excessive moisture, which can leave behind water stains or damage delicate fibers.
Step 1: Remove Excess Chocolate
Before applying any cleaning solution, you need to remove as much solid chocolate as possible. But this step requires precision—you don’t want to accidentally push the chocolate deeper into the fabric.
🔹 What to Do:
If the chocolate is melted, place a few ice cubes in a plastic bag and gently press them against the stain for a couple of minutes. This will harden the chocolate, making it easier to scrape off without smearing.
Use a dull knife, spoon, or the edge of a credit card to carefully lift away any dried or solid chocolate.
Step 2: Apply a Targeted Cleaning Solution
Now that you’ve removed the excess chocolate, it’s time to break down the stain itself. Since chocolate contains fats, proteins, and tannins, a mild grease-cutting solution works best.
🔹 What to Use:
- Mix one teaspoon of dish soap with two cups of cold water. Dish soap is great at cutting through oily residues without harming upholstery fabric.
- Dip a clean white cloth into the solution. Using a white cloth prevents any dye transfer onto your furniture.
🔹 What to Avoid:
Don’t over-wet the fabric. Too much liquid can soak into the padding underneath, leading to mildew or water rings.
Do not rub! Rubbing forces the stain deeper into the fibers, making it even harder to remove.
Step 3: Blot the Stain Gently
Blotting is your best friend when it comes to upholstery stain removal. Instead of scrubbing, gently press and lift to absorb the stain.
🔹 How to Blot Effectively:
Continue blotting until the stain fades significantly or disappears entirely.
Use a dry section of the cloth or grab a second clean cloth to blot up the moisture after each application of the cleaning solution.
Rotate the cloth to a clean area frequently—this prevents reapplying the chocolate back onto the fabric.
Step 4: Repeat or Use a Stronger Stain Fighter if Needed
Some chocolate stains—especially those that have dried or set into the fabric—might require a little extra effort. If the stain persists, it’s time to bring out a more powerful cleaner.
🔹 What to Try Next:
- Hydrogen Peroxide (for light-colored upholstery):
- Dab a tiny amount on a hidden area first to test for fabric discoloration.
- If safe, apply a small amount to the stain using a cotton swab, then blot with a clean cloth.
- Enzyme Cleaner (for stubborn, protein-based stains):
- Enzyme-based cleaners break down organic stains like dairy and cocoa.
- Follow product instructions and blot dry after use.
🔹 Final Step: Remove Any Soapy Residue
Air dry or use a fan to speed up drying and prevent water marks.
Dampen a fresh cloth with plain cold water and gently blot the treated area to remove any leftover cleaning solution.
Keeping Your Upholstery Chocolate-Free
Accidents happen, but prevention can save you time and effort in the long run! Consider using:
✅ Fabric protectors (like Scotchgard) to create a stain-resistant barrier.
✅ Removable cushion covers that can be washed separately.
✅ Throw blankets in chocolate-prone areas—easy to wash, hard to stain!
By acting quickly and using the right techniques, you can remove chocolate stains from upholstery without hassle. Now, let’s move on to removing chocolate stains from carpets and other tricky surfaces!
Natural Cleaning Options
Using Hydrogen Peroxide
Hydrogen peroxide works well for white fabrics but may bleach colored materials. Always test on an inconspicuous area first.
Using Vinegar
Vinegar is great for breaking down chocolate’s fatty content.
Using Baking Soda
Sprinkle baking soda on the stain, let it sit for 30 minutes, then vacuum it up.
Dealing with Specific Stain Types
How to Remove Dried Chocolate Stains
For dried stains, gently scrape off the chocolate, soak the fabric in cold water for 30 minutes, and then wash as usual.
How to Remove Chocolate Ice Cream Stains
Chocolate ice cream stains contain dairy proteins, so pre-treat with an enzyme cleaner before washing.
How to Remove Set-In Chocolate Stains
For stubborn stains, mix oxygen bleach with water and soak the fabric for an hour before washing.
Additional Tips and Advice
Always Use Cold Water
Hot water can cause the chocolate to bond with fabric fibers, making it nearly impossible to remove.
Test Cleaning Solutions First
Before applying any stain remover, test it on a hidden part of the fabric to avoid damage.
Don’t Use Heat
Avoid using a hairdryer or dryer until the stain is completely gone, as heat will set it permanently.
When to Call a Professional
If all else fails, a professional cleaner can help tackle the toughest stains, especially on delicate fabrics or high-value items.
Final Thoughts
Chocolate stains may be annoying, but they’re not unbeatable. As someone who loves chocolate in all forms, I’ve had my fair share of stain-related mishaps. But thanks to these tried-and-true methods, I can enjoy my favorite treat without worrying about the mess!
So next time you have a chocolate mishap, don’t panic. Follow this guide, and your clothes, carpets, and upholstery will be chocolate-free in no time. Now, if you’ll excuse me, I have a chocolate bar calling my name!